
A BIG THANK YOU to the Hero Behind
On September 19, 2024, Thomas Gleixner delivered the pull request for the realtime preemption enablement patches to Linus Torvalds, marking the grand finale of Real Time Linux’s 20 years journey to the Linux Kernel.
Thank to THE PEOPLE WORK ON THE PROJECT, Linux is able to operate in a deterministic way and benefit the control automation world.
BECKHOFF Linux
There are many Linux flavors available in the world of control automation and BECKHOFF Linux is one of them.
BECKHOFF Linux was released in 2025 and was based on Debian. It inherits many benefits of Linux like containerization, multitasks and so on.
BECKHOFF Linux officially supports only BECKHOFF IPCs but potentially can run other hardware with rendered performance.
Introduction
This article provides a guide to start up a BECKHOFF IPC with BECKHOFF Linux and TwinCAT 3 Runtime. Some knowledge about Linux command line interface (CLI) can be beneficial but I believe anyone can do this with just a little effort.
Setup BIOS
Based on the IPC that you’re using, there may be different key press combinations to enter the BIOS setup. I’m sure you can figure it out.
There are two settings to be made:
- The IPC must use UEFI bootmode.
- The IPC must be bootable from the USB or other installation media that you’re using.
Note that if the IPC already has an OS, the USB boot device should have a higher priority than the IPC HDD, otherwise the IPC will be booted by the existing OS.
Also, Beckhoff IPCs has an option to choose the bootmode as hybrid which saved me some time to figure out more details, you may want to use it, too.
Make Installation Media
You can download the Beckhoff Linux image from Beckhoff.
You will need to register a Beckhoff account to download it if you don’t have one already. Note that you will need to use the Beckhoff package manager later and it requires a Beckhoff account, too.
Feel free to choose your preferred tool to make the installation media.
In my case, I used Balena Etcher, it’s a free tool that you can download from here.
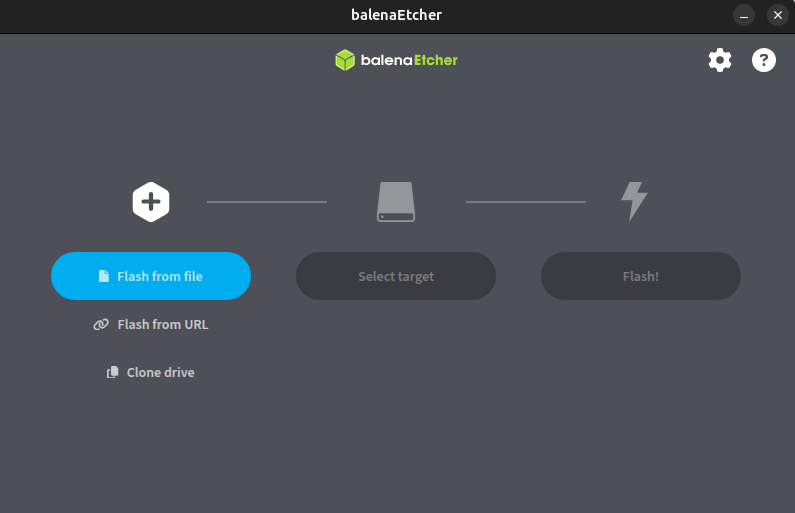
Follow the tool’s prompts to make the media.
Install Beckhoff Linux
This is the easiest part. Insert your installation media to your IPC, boot it up and follow Beckhoff’s prompts to install the OS.
Note that while installing, Beckhoff Linux will ask you to create an account and password, too. It is the Linux OS log in account and password.
Configure the OS and RT
After installing the OS, there are a few things to finish before we can start programming.
Configure the Local Network
Use the below file to manage the network configuration.
sudo nano /etc/systemd/network/10-wired.network
Below is an example to configure the ETH0 of the IPC to use the static IP address and gateway.
[Match]
Name=enp2*

[Network]
Address=192.168.79.110/24
Gateway=192.168.79.1
After saving the file and exit, use the below command to apply the changes to the network adapter.
sudo networkctl reload
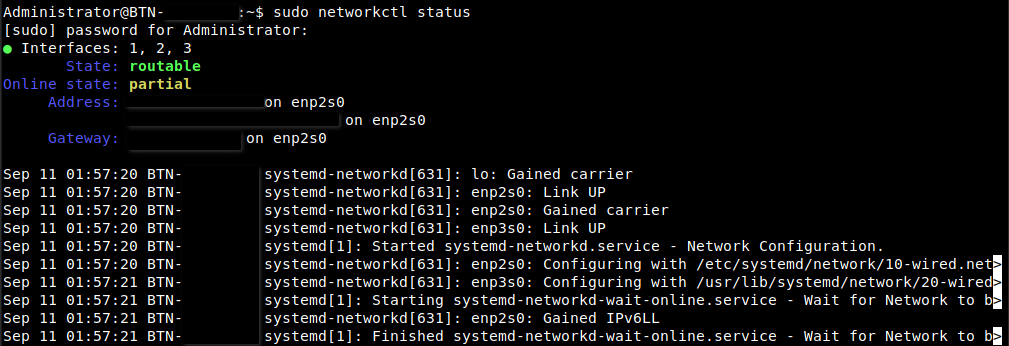
If everything goes well, you should be able to use the below command to find out about your network configuration. sudo networkctl status
Below is an example of mine.
Configure DNS
Based on your network setup, you may want to configure the DNS for your IPC.
You can use the below command to open the DNS configuration.
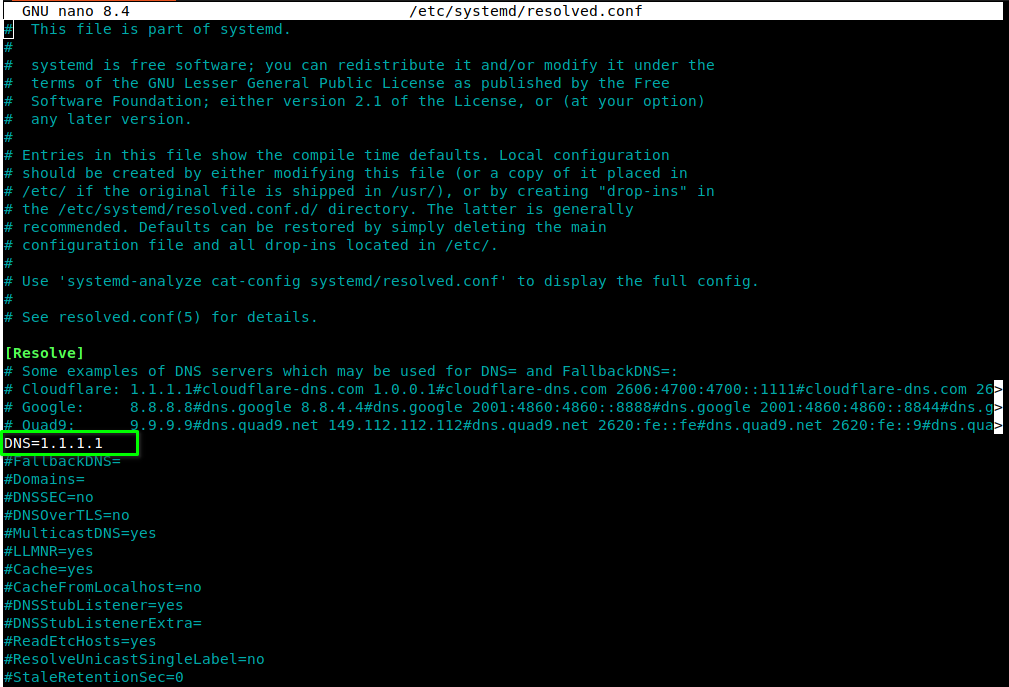
sudo nano /etc/systemd/resolved.conf
In the opened file, uncomment the line for DNS and put your preferred DNS there. In my case, I’m using the Cloudflare DNS as you can see below.
Configure Beckhoff Package Manager
Use the below command to create a log in configuration file for the Beckhof Package Manager.
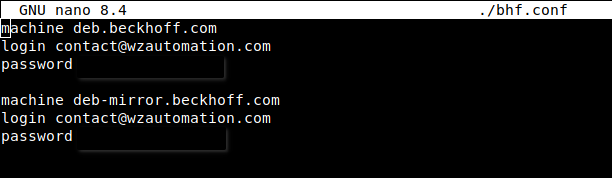
sudo nano /etc/apt/auth.conf.d/bhf.conf
Inside, put your Beckhoff account login credentials to give the IPC access to the Beckhoff package server.
Below is an example of mine.
IMPORTANT NOTE: the above login configuration should be kept as a temporary file or deleted later in applications that will be shipped to your customers. Otherwise, you will disclose your Beckhoff login credentials.
Configure NTP
This is not a must but I prefer my devices all have the correct time so I don’t need to think about converting the time.
Use the below command to open the NTP configuration file.
sudo nano /etc/systemd/timesyncd.conf
Uncomment the NTP line and put your preferred NTP server behind. Below is an example of mine.
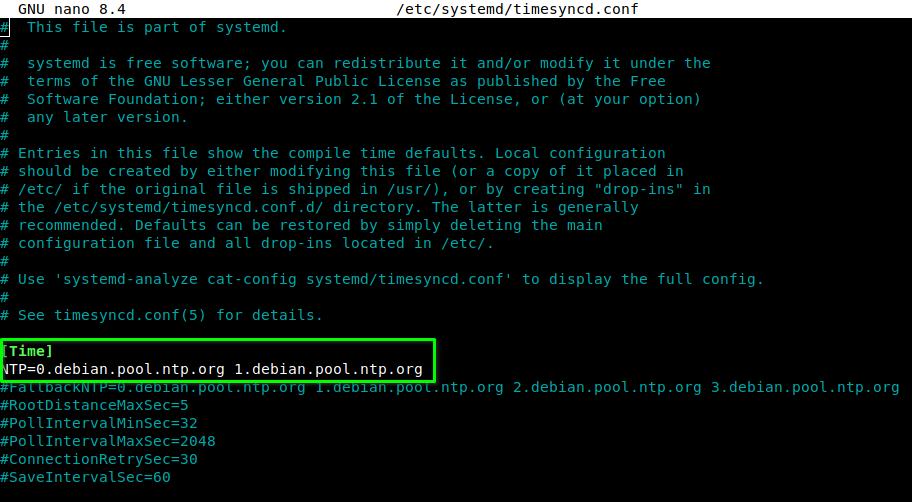
After saving the changes, remember to use the below commands to enable the NTP synchronization and set the time zone.
sudo timedatectl set-ntp true
sudo timedatectl set-timezone Asia/Hong_Kong
Install TwinCAT 3 Runtime
Since you have made quite some configurations to your IPC, it may be useful to reboot it once to make sure that all configurations are applied.
After reboot, use the below command to install the TC3 RT.
sudo apt install tc31-xar-um
It will take some time to finish the installation.
After installing, if you use the below command, you should be able to see the status of your TC3 RT.
sudo systemctl status TcSystemServiceUm
Below is an example of mine.
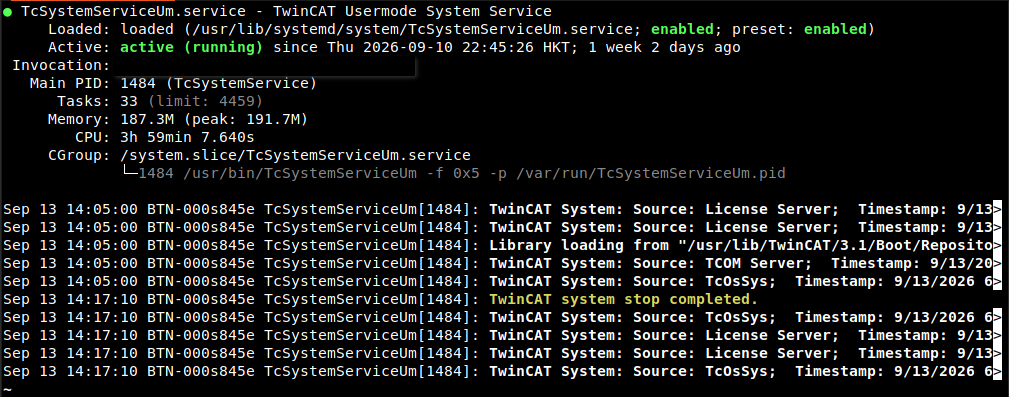
Now if you fire up your TC3 XAE, you should be able to add the route to your TC3 RT and start working on your applications.
Conclusion
This article provides a guide to install and configure a Beckhoff Linux IPC and host a TwinCAT 3 run time on it. Some of the steps described in this article may vary based on the environment but the principle idea remains the same.